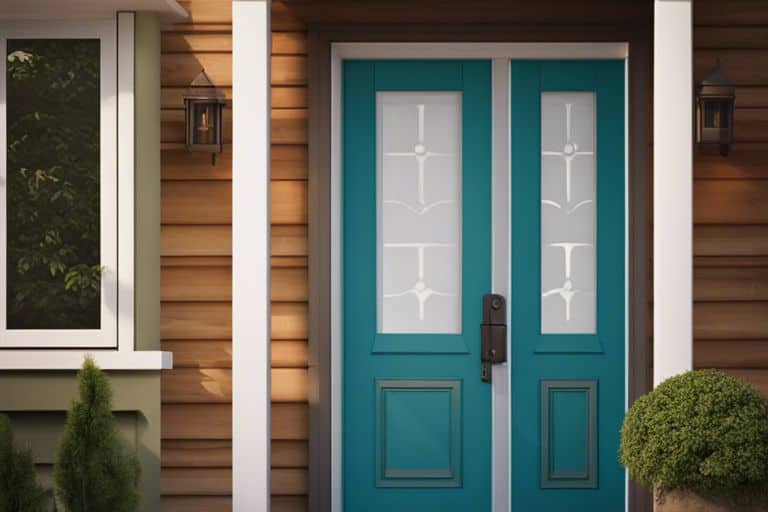
There’s a certain charm and warmth that wooden doors and windows bring to a home, but over time, they may need a fresh coat of paint to revitalise their look. Whether you’re sprucing up your wooden fixtures for maintenance or aesthetics, knowing the right painting techniques can make all the difference. At Express Windows Group, we provide detailed instructions on painting wooden doors and windows to achieve a smooth finish. For more expert advice, check out How to Paint Doors, Windows, and Walls.
Key Takeaways:
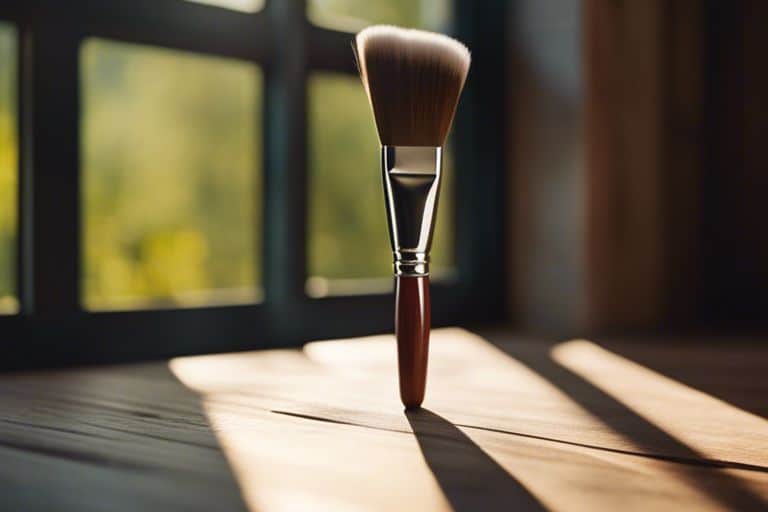
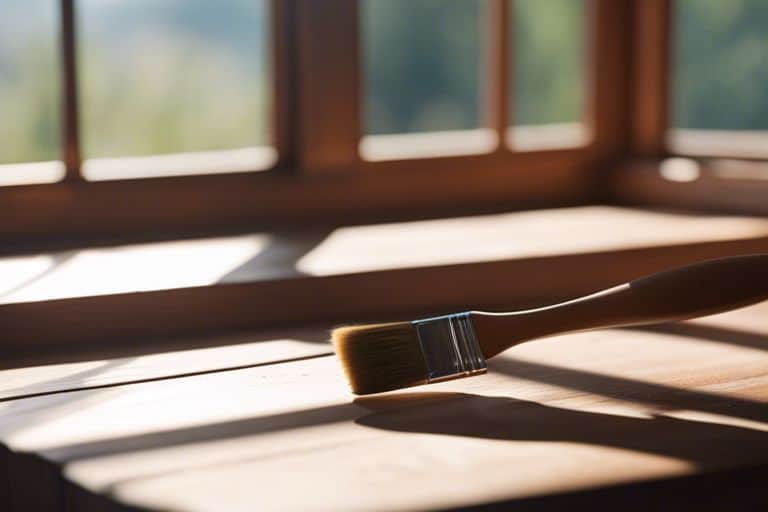
- Brush vs Roller: A brush is ideal for detailed areas and ensuring paint reaches all nooks and crannies, while a roller is great for larger flat surfaces, providing a smooth and even finish.
- Painting Along the Wood Grain: Always paint in the direction of the wood grain to enhance the natural beauty of the wood and avoid potential streaks or brush marks.
- Avoiding Drips and Streaks: To prevent drips, ensure your brush or roller isn’t overloaded with paint. Use long, smooth strokes and work quickly to maintain a wet edge for seamless blending.
- Tips for a Professional Finish: Sand the wooden surface before painting to ensure a smooth finish. Consider using a primer to improve paint adhesion and durability. Allow sufficient drying time between coats for the best results.
- Final Touches: Once you’ve finished painting, carefully inspect your work for any missed spots or imperfections. Touch up any areas as necessary to achieve a flawless result.
Preparing to Paint
Tools and Materials You Will Need
To achieve a professional finish when painting your wooden windows and doors, you will need a few imperative tools and materials. To get started, you will need a good quality paintbrush, preferably a 2-3 inch wide brush for better coverage, and a roller for larger areas for a smoother finish. Additionally, gather sandpaper for sanding down any rough areas and a quality wood primer and paint of your choice. Don’t forget to protect your hands with gloves and wear old clothes to avoid any unwanted stains.
Pre-Paint Cleaning and Sanding
To ensure a smooth and long-lasting paint finish, proper preparation is key. Before starting to paint, it is imperative to clean the wooden surfaces thoroughly to remove any dirt, dust, or grease. Sanding down the wood with fine-grit sandpaper will help create a smooth surface for the paint to adhere to. This step is crucial for achieving a professional-looking finish.
Plus, make sure to wipe down the sanded areas with a damp cloth to remove any remaining dust particles. This will help the paint adhere better and prevent any imperfections in the final result.
Taping and Protecting Surrounding Areas
Some extra care is needed when painting wooden windows and doors to avoid getting paint on surrounding areas such as walls, floors, or glass panes. Use painter’s tape to carefully tape off the edges of the windows and doors to create clean lines. Also, protect the floors and any adjacent surfaces with a drop cloth to catch any drips or spills. Taking these precautions will save you time and effort in cleaning up later on.
Need to protect any hardware such as knobs, handles, or hinges from accidental paint splatters. You can remove them if possible or use masking tape to cover them securely.
Understanding Wood Types and Paints
Many factors contribute to the successful painting of wooden windows and doors, including the type of wood used and the appropriate paint selection. Different types of wood have varying characteristics that can impact how paint adheres and how the final finish looks. It is crucial to understand these differences to achieve a smooth and long-lasting paint job.
Different Types of Wood and Their Characteristics
For painting wooden windows and doors, it is vital to consider the type of wood being used. Oak, pine, mahogany, teak, and cedar are common choices for these structures, each with its unique characteristics. Oak, for example, is a durable hardwood that can withstand a variety of weather conditions. Pine, on the other hand, is softer and more susceptible to dents and scratches.
| Oak | Durable hardwood |
| Pine | Softer, prone to dents |
| Mahogany | Resistant to rot |
| Teak | Highly durable, resistant to pests |
| Cedar | Naturally resistant to decay |
After choosing the right wood for your windows and doors, it is crucial to ensure that the paint you use is compatible with the wood type. Different paints have varying levels of adhesion and durability, so selecting the appropriate one is key to a successful paint job.
Choosing the Right Type of Paint for Wood
Paints specially formulated for wooden surfaces provide better adhesion and protection against the elements. Acrylic paints are popular choices for wooden windows and doors due to their durability and flexibility. Oil-based paints offer superior adhesion and a high-gloss finish, making them suitable for high-traffic areas. However, they may take longer to dry and emit strong odours.
| Acrylic Paints | Durable and flexible |
| Oil-Based Paints | Superior adhesion, high gloss |
| Water-Based Paints | Environmentally friendly, quick drying |
| Stain | Enhances natural wood grain |
| Primer | Prepares surface for paint, improves adhesion |
Right choice of paint can significantly impact the longevity and aesthetics of your wooden windows and doors. Our team at Express Windows Group recommends selecting high-quality paints tailored for wooden surfaces to ensure a professional finish that lasts.
Techniques for Painting Wooden Doors and Windows
Brush Techniques for Detailed Work
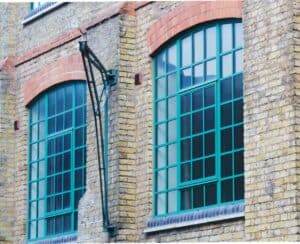
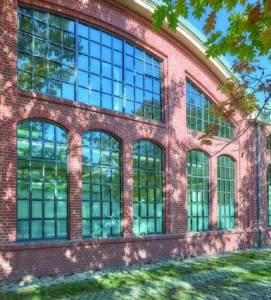
Windows are often detailed with intricate frames and grilles, requiring precision painting techniques. When painting wooden doors and windows with small details, a high-quality brush is vital. A brush allows for better control and accuracy when working around corners and edges. To achieve a smooth finish, always paint in the direction of the wood grain to prevent brush marks.
Roller Techniques for Larger Surfaces
Assuming you are painting larger surfaces such as door panels or window frames, using a roller can save time and effort. A roller covers larger areas more quickly and evenly than a brush. However, it’s important to use the right type of roller for wooden surfaces to avoid drips and streaks. It is recommended to use a low-nap roller for wooden doors and windows to achieve a smooth finish.
Step-by-Step Guide to Painting Wooden Doors and Windows
Despite the many options available for painting wooden doors and windows, it’s imperative to use the right techniques for a smooth finish. Express Windows Group, the leading provider of window and door solutions, recommends a careful approach to achieve a professional result.
| Steps for Preparing the Wood Surface | The Painting Process Explained |
|---|---|
Preparing the Wood SurfaceBefore starting the painting process, ensure the wood surface is clean and dry. Sand down any rough spots or old paint to create a smooth base for the new coat. Use a primer to help seal the surface and improve paint adhesion. |
The Painting Process ExplainedWith wooden doors and windows, using a brush can provide more accuracy and control, especially when painting along the wood grain. Rollers, on the other hand, are ideal for larger flat surfaces where speed is key. To avoid drips and streaks, paint in thin, even layers, moving in the direction of the wood grain. |
Explained: To achieve a flawless finish, apply multiple thin coats of paint rather than one thick layer. This will prevent drips and streaks, ensuring a smooth and professional appearance for your wooden doors and windows.
Factors Influencing the Painting Process
Your choice of tools can greatly impact the outcome of your painting project. When painting wooden doors and windows, consider the advantages of using a brush versus a roller. A brush is ideal for reaching into intricate details and corners, while a roller can provide a quicker and more even coat on larger, flat surfaces. It is recommended to use a brush when painting along the wood grain to ensure the paint penetrates into the natural texture of the wood.
- Brush: Ideal for intricate details and corners
- Roller: Provides a quicker and more even coat on large, flat surfaces
Weather and humidity also play a significant role in the painting process. Painting in optimal weather conditions can help prevent drips and streaks in the finish. High humidity can lead to slower drying times and potential issues with adhesion, while extreme heat can cause the paint to dry too quickly, resulting in a less smooth finish. It is important to consider these factors when planning your painting project to achieve the best results.
Weather and Humidity Considerations
Painting wooden doors and windows when the weather is dry and mild can help ensure a smooth finish. Excess humidity can affect the drying time of the paint and potentially lead to issues with adhesion. Extreme temperatures should also be avoided, as they can impact the paint’s ability to adhere to the wood surface.
The Role of Wood Grain in Achieving a Smooth Finish
On wooden surfaces, painting along the wood grain is crucial in achieving a smooth finish. The natural texture of the wood grain can impact how the paint adheres to the surface. By following the direction of the grain with your brush or roller, you can ensure that the paint fully penetrates the wood for a flawless finish.
Smooth finishes on wooden windows and doors not only enhance the aesthetic appeal but also provide long-lasting protection against the elements. By understanding these key factors influencing the painting process, you can achieve professional results that will keep your wooden features looking their best for years to come.
Tips for a Flawless Finish
How to Avoid Drips and Streaks
Even when using the best paints and tools, drips and streaks can still occur when painting wooden doors and windows. To prevent this, consider using a high-quality brush or roller suitable for the type of paint you are using. Brush application provides more control and precision, ideal for detailed areas, while a roller can cover larger surfaces quickly. For specific guidelines on choosing the right tools and techniques, refer to Step-by-step instructions for finishing wood windows and doors.
The key to achieving a smooth finish without drips or streaks is to apply thin coats of paint evenly. Start by loading your brush or roller with just enough paint to cover the surface without overloading it. Avoid excessive pressure when applying the paint, as this can lead to drips. Allow each coat to dry completely before applying the next one to avoid streaks and ensure a flawless finish.
The Importance of Painting Along the Wood Grain
An necessary technique to master when painting wooden doors and windows is to follow the natural grain of the wood. This not only enhances the appearance of the finished product but also helps prevent the paint from cracking or peeling over time. Drips can occur if you paint against the grain, disrupting the smooth flow of the paint. By following the wood grain, you ensure even coverage and a professional-looking finish for your wooden windows and doors.
Pros and Cons of Brush versus Roller
Advantages and Disadvantages of Using a Brush
Now, when it comes to painting wooden windows and doors, using a brush has its own set of advantages and disadvantages. One major advantage of using a brush is the ability to work paint into intricate details and contours of the wood, ensuring thorough coverage. This is particularly useful when painting window frames with multiple panes or decorative mouldings. However, on the downside, using a brush can be time-consuming, especially if you are working on a large surface area like a door.
Advantages and Disadvantages of Using a Roller
Assuming you opt for a roller when painting wooden doors and windows, you will benefit from quicker paint application and smoother finishes on larger flat surfaces. This can help you achieve a more uniform look across the entire door or window. However, one common disadvantage of using a roller is that it may not reach into intricate details or along the edges as effectively as a brush, potentially leaving some areas with uneven paint coverage.
Disadvantages though a roller can provide a fast and efficient painting process, it may not be suitable for every part of your wooden doors and windows. Careful consideration should be made regarding the design and intricacy of the woodwork before deciding whether to use a roller or a brush.
Maintenance and Touch-Ups
Post-Painting Care for Longevity
Now that you have successfully painted your wooden windows and doors using the finest techniques, it is vital to ensure their longevity with proper maintenance. Regularly inspect the painted surfaces for any signs of wear and tear, such as chipping or fading. Touch-ups may be needed to maintain the smooth finish and protect the wood from the elements.
Addressing Peeling and Flaking Over Time
Touch-ups are vital for addressing peeling and flaking paint that may occur over time on wooden windows and doors. If you notice any areas where the paint is starting to peel or flake, it is crucial to address the issue promptly. Carefully sand down the affected areas, then touch up with a fresh coat of paint to prevent further deterioration and maintain the overall appearance of your windows and doors.
Summing up
Conclusively, when it comes to painting wooden windows and doors, using a brush or a roller has its advantages. A brush offers more precision and control, especially when painting along the wood grain, while a roller can cover larger areas quickly. It is vital to paint in the direction of the wood grain to achieve a seamless finish and avoid drips and streaks. However, for a smooth and even coat, it is recommended to use a combination of both tools: a brush for detailed areas and a roller for larger sections.
For more efficient painting techniques and tips to save time and energy, visit How To Paint Windows To Save Time and Energy. Following these guidelines will ensure that your wooden doors and windows receive a professional-looking finish that will enhance the overall aesthetics of your home. Note, if you require assistance in painting your wooden windows and doors, do not hesitate to contact Express Windows Group for our specialised services.
FAQ
Q: Why is it important to paint wooden windows and doors?
A: Painting wooden windows and doors not only enhances their aesthetic appeal but also protects them from the elements, extending their lifespan.
Q: What tools and materials do I need to paint wooden windows and doors?
A: You will need paint, primer, brushes, rollers, sandpaper, masking tape, drop cloths, and cleaning supplies for preparation and painting.
Q: Should I use a brush or a roller to paint wooden windows and doors?
A: Brushes are great for detailed work and cutting in, while rollers are ideal for larger flat surfaces, providing a smooth and even finish.
Q: How can I paint along the wood grain for a professional look?
A: To paint along the wood grain, use a brush or roller in long, straight strokes following the direction of the grain for a seamless finish.
Q: What are some tips for avoiding drips and streaks when painting wooden windows and doors?
A: Avoid drips and streaks by applying thin, even coats of paint, using proper technique, and ensuring the paint isn’t too thick or dripping off the brush or roller.
Q: How many coats of paint should I apply to wooden windows and doors?
A: It is recommended to apply at least two coats of paint for durability and a professional finish. Allow each coat to dry completely before applying the next.
Q: How should I maintain painted wooden windows and doors for longevity?
A: To maintain painted wooden windows and doors, regularly clean them with a gentle cleanser, touch up any chipped or damaged areas, and consider repainting every few years to keep them looking fresh.